Choosing the Right Handles

Choosing the right handles for your kitchen cabinets can significantly impact the overall look and feel of your space. They’re more than just functional pieces; they add personality and style to your kitchen design. With a wide variety of options available, it’s essential to consider your kitchen style, cabinet dimensions, and personal preferences to make the best choice.
Types of Cabinet Handles
The type of handle you choose depends on your desired aesthetic and functionality. Here are some common types:
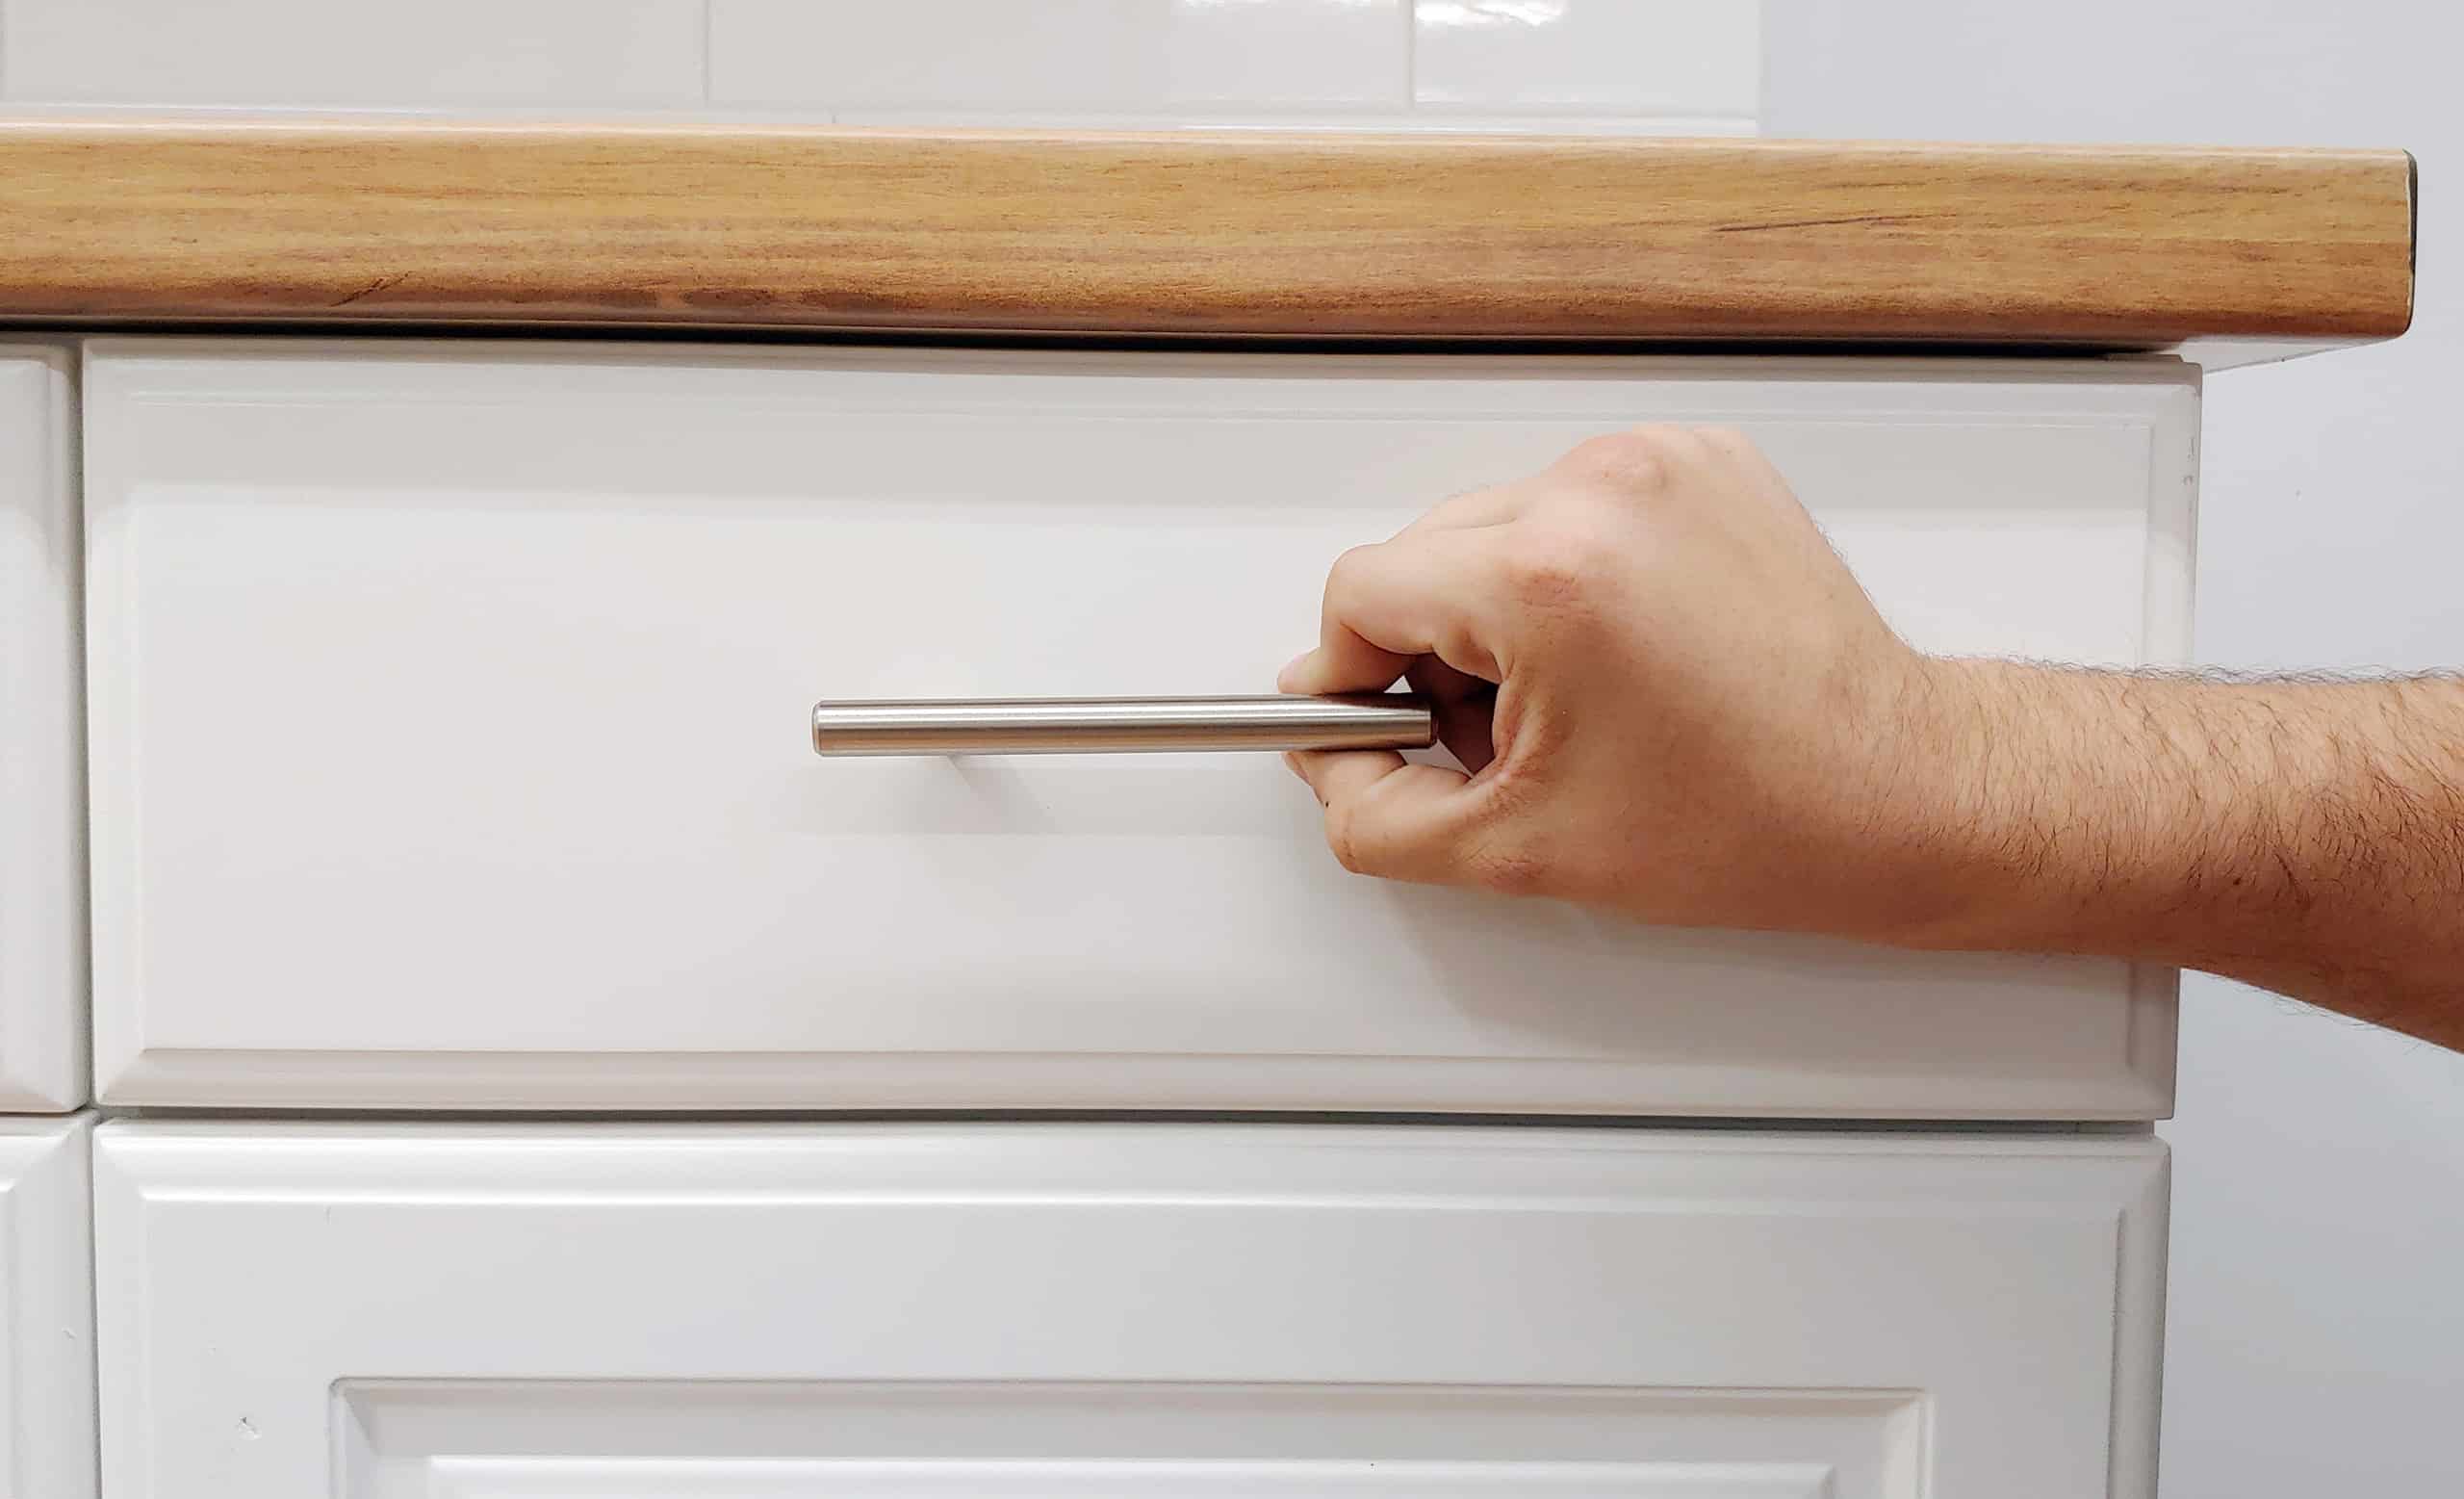
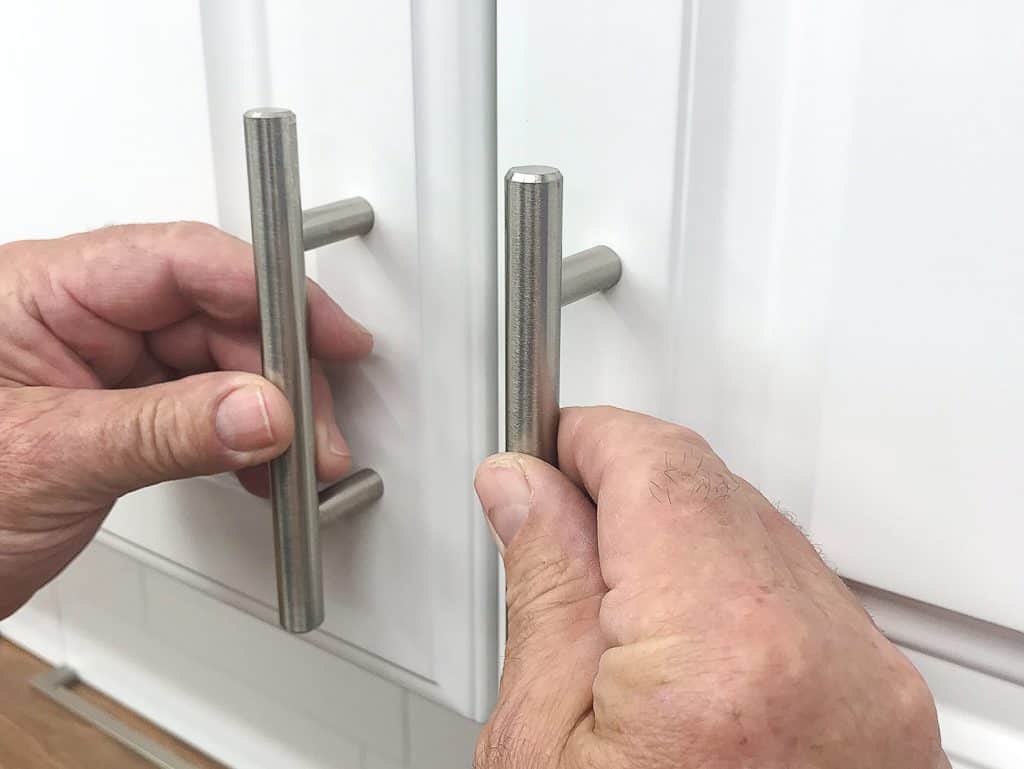
- Pull Handles: These are elongated handles that offer a comfortable grip and are commonly found in modern and contemporary kitchens. They come in various lengths and finishes, allowing for customization.
- Knobs: Knobs are round or square handles that are typically smaller than pull handles. They offer a classic and traditional look and are suitable for various kitchen styles. Knobs are available in various materials, including ceramic, metal, and wood.
- Bar Pulls: These handles are rectangular and feature a horizontal bar that extends across the cabinet face. Bar pulls are popular in modern and minimalist kitchens and are often made of metal.
- Cup Pulls: Cup pulls are recessed handles that create a subtle and elegant look. They are commonly found in traditional and farmhouse kitchens and are available in various materials, including metal and ceramic.
Handle Styles for Different Kitchen Styles
The style of your kitchen handles should complement the overall design.
- Modern Kitchens: Sleek, minimalist handles with clean lines and geometric shapes are ideal for modern kitchens. Bar pulls, pull handles with square edges, and knobs with simple designs are excellent choices.
- Traditional Kitchens: Traditional kitchens often feature ornate and decorative handles. Consider knobs with intricate details, cup pulls, or pull handles with curved edges. Materials like brass, bronze, and polished nickel are common in traditional kitchens.
- Farmhouse Kitchens: Farmhouse kitchens often embrace rustic and vintage elements. Look for handles with a distressed or aged finish, such as black iron, oil-rubbed bronze, or weathered wood. Cup pulls and knobs with a simple, farmhouse-inspired design are popular choices.
Determining Handle Size and Placement
The size and placement of your handles are crucial for both functionality and aesthetics.
- Handle Size: Consider the size of your cabinets and the overall design. For larger cabinets, longer pull handles or bar pulls may be more comfortable to use. For smaller cabinets, knobs or shorter pull handles are suitable.
Tip: It’s recommended to choose handles that are at least 2 inches shorter than the width of the cabinet door.
- Handle Placement: The placement of handles should be consistent throughout the kitchen. For pull handles, the center of the handle should be approximately 3 inches from the top or bottom edge of the cabinet door. For knobs, the center should be placed approximately 3 inches from the edge of the door.
Tip: Consider the height of your countertops and the reach of your users when determining handle placement.
Matching Handles to Your Kitchen Design
Your kitchen handles should complement the overall design and color scheme of your kitchen.
- Color Scheme: Consider the color palette of your kitchen cabinets, countertops, and backsplash. You can choose handles that match or contrast with your existing colors. For example, if your kitchen features a neutral color scheme, you can add a pop of color with brightly colored handles. Alternatively, if you have bold cabinets, you might choose handles in a neutral finish to avoid overwhelming the space.
- Material: The material of your handles should complement the other materials in your kitchen. For example, if you have stainless steel appliances, you might choose stainless steel handles. If you have a rustic kitchen, you might choose handles made of wood or black iron.
- Finish: The finish of your handles can also impact the overall look of your kitchen. For example, polished nickel handles can create a sleek and modern look, while brushed nickel handles offer a more casual and understated aesthetic.
Measuring and Marking: How To Put Handles On Kitchen Cabinets

Getting the handle placement right is crucial for the functionality and aesthetics of your kitchen cabinets. This step involves careful measuring and marking to ensure that the handles are positioned symmetrically, balanced, and at a comfortable height.
Measuring Cabinet Doors and Drawers
Accurate measurements are the foundation of successful handle installation. Here’s how to measure your cabinet doors and drawers:
- Determine Handle Placement: Decide whether you want the handles centered on the doors and drawers or offset to one side. Consider the size of the handles and the overall design of your cabinets.
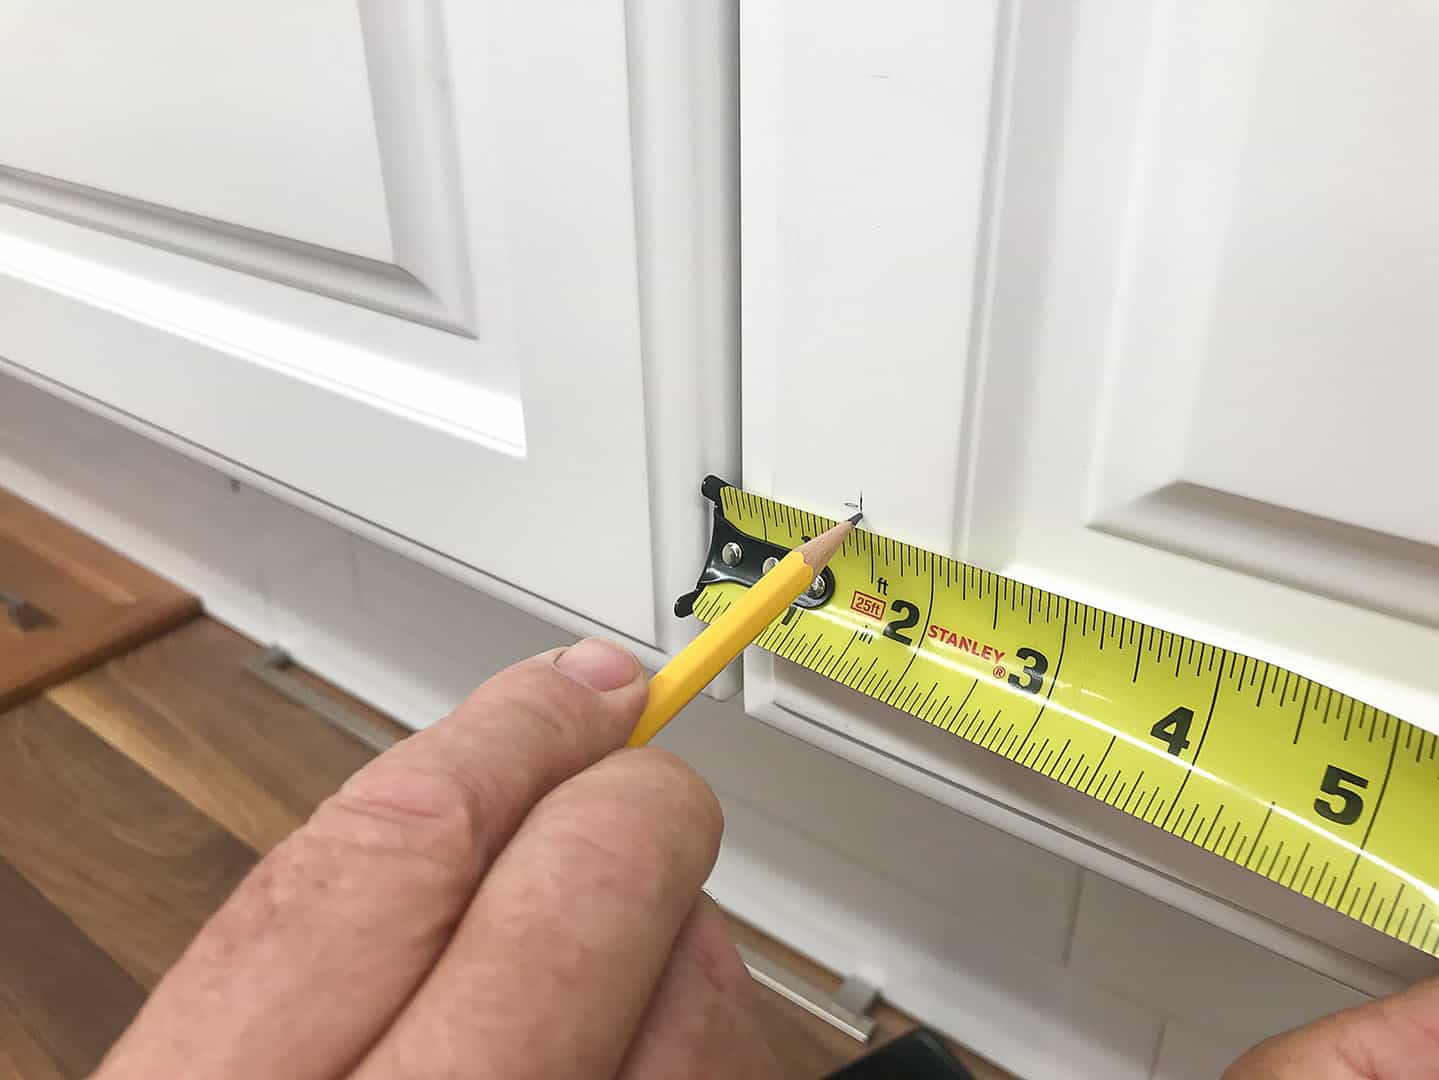
- Measure the Width: Measure the width of each door and drawer using a measuring tape. Mark the center point of the width. If you’re offsetting the handle, measure the desired distance from the edge and mark that point.
- Measure the Height: Measure the height of each door and drawer. Consider the height of the handles and your own comfort level when determining the placement. Mark the desired height on the cabinet surface.
Marking Placement Points, How to put handles on kitchen cabinets
Once you have your measurements, you need to mark the placement points on the cabinet surfaces. Here’s how:
- Use a Pencil: A pencil is the most common tool for marking. Make small, clear marks at the center point of the width and the desired height. You can use a ruler to ensure accuracy.
- Use a Measuring Tape: If you prefer, you can use a measuring tape to mark the placement points directly. Simply hold the tape at the marked center point and extend it to the desired height. Make a small mark with the pencil at that point.
- Ensure Accuracy: Double-check your measurements and markings to ensure accuracy before drilling. Even a slight error can affect the final placement of the handles.
Using a Template or Jig
For consistent handle placement, especially if you have multiple cabinets, consider using a template or jig:
- Create a Template: Cut a piece of cardboard or plywood to the size of your handle. Mark the center point of the template. This will serve as a guide for drilling the holes.
- Use a Jig: A jig is a specialized tool that helps to align the handle and drill the holes at the correct angle. Jigs are available for different handle styles and sizes.
- Benefits of Templates and Jigs: Using a template or jig ensures consistent handle placement, reduces the risk of errors, and saves time during installation.
Ensuring Symmetry and Balance
Symmetry and balance are essential for the visual appeal and functionality of your cabinets:
- Visual Appeal: Symmetrical handle placement creates a sense of order and harmony, enhancing the overall aesthetics of your kitchen.
- Functionality: Balanced handle placement ensures that the doors and drawers open and close smoothly, preventing any awkward or uneven movements.
- Consistency: Use the same handle placement for all doors and drawers within a cabinet set to maintain a cohesive look.
Installation Techniques

Installing cabinet handles is a straightforward process that can significantly enhance the look and functionality of your kitchen. The method you choose will depend on the type of handle and the material of your cabinets.
Drilling for Handles
Drilling is the most common method for installing cabinet handles. It provides a secure and long-lasting attachment. Here’s a step-by-step guide:
- Gather the necessary tools: Drill, drill bits (appropriate size for the handle screws), pencil, measuring tape, level, screwdriver, and the handles.
- Determine the handle placement: Measure and mark the desired location for each handle using a pencil and level. Ensure the handles are evenly spaced and aligned with the cabinet doors.
- Pre-drill pilot holes: Using a drill bit slightly smaller than the handle screws, pre-drill pilot holes at the marked locations. This prevents splitting the cabinet door and ensures a smooth installation.
- Install the handles: Align the handles with the marked spots and secure them using the provided screws. Avoid overtightening the screws, as this can damage the cabinet door.
Screwing in Handles
Some handles come with pre-attached screws, simplifying the installation process. Follow these steps:
- Locate the screw holes: Identify the screw holes on the back of the handle.
- Mark the screw positions: Using a pencil, mark the screw locations on the cabinet door.
- Align and secure: Position the handle over the marked spots and screw it in using a screwdriver.
Using Adhesive for Handles
For lightweight handles and non-permanent installations, adhesive is an alternative option. Here’s how to proceed:
- Clean the surface: Thoroughly clean the cabinet door surface with a mild cleaner and allow it to dry completely.
- Apply adhesive: Apply a thin, even layer of adhesive to the back of the handle, following the manufacturer’s instructions.
- Position and press: Align the handle with the desired location and press firmly to ensure a strong bond.
- Allow drying time: Allow the adhesive to dry completely before using the handle.
Tips for Avoiding Installation Mistakes
- Measure twice, drill once: Carefully measure and mark the handle locations before drilling any holes to avoid misalignments.
- Use a level: Ensure the handles are level and aligned for a polished look.
- Avoid overtightening: Overtightening screws can damage the cabinet door or strip the screw threads. Apply firm pressure, but avoid excessive force.
- Pre-drill for hard woods: If you’re working with hard woods, pre-drilling pilot holes is crucial to prevent splitting the wood.
How to put handles on kitchen cabinets – Putting handles on kitchen cabinets is a fun way to personalize your space, and it’s easier than you think! Just make sure to measure twice and drill once, and you’ll be good to go. If you’re short on space, you might want to consider a craft room in a cabinet , which is a clever way to maximize your creative space.
Once you’ve got your handles on, you can start organizing your kitchen and getting ready to cook up some delicious meals!
Putting handles on kitchen cabinets is a breeze, especially if you’re using those nifty IKEA ones! You can even use them to spruce up your laundry room, just like they did in this awesome article about IKEA kitchen cabinets in laundry rooms.
Once you’ve got your handles, just line up the holes, mark them with a pencil, and then drill away! It’s so easy, you’ll be feeling like a pro in no time!
